ry-chat
Ry Chat (Multi-Provider LLM Chat Interface 💬)
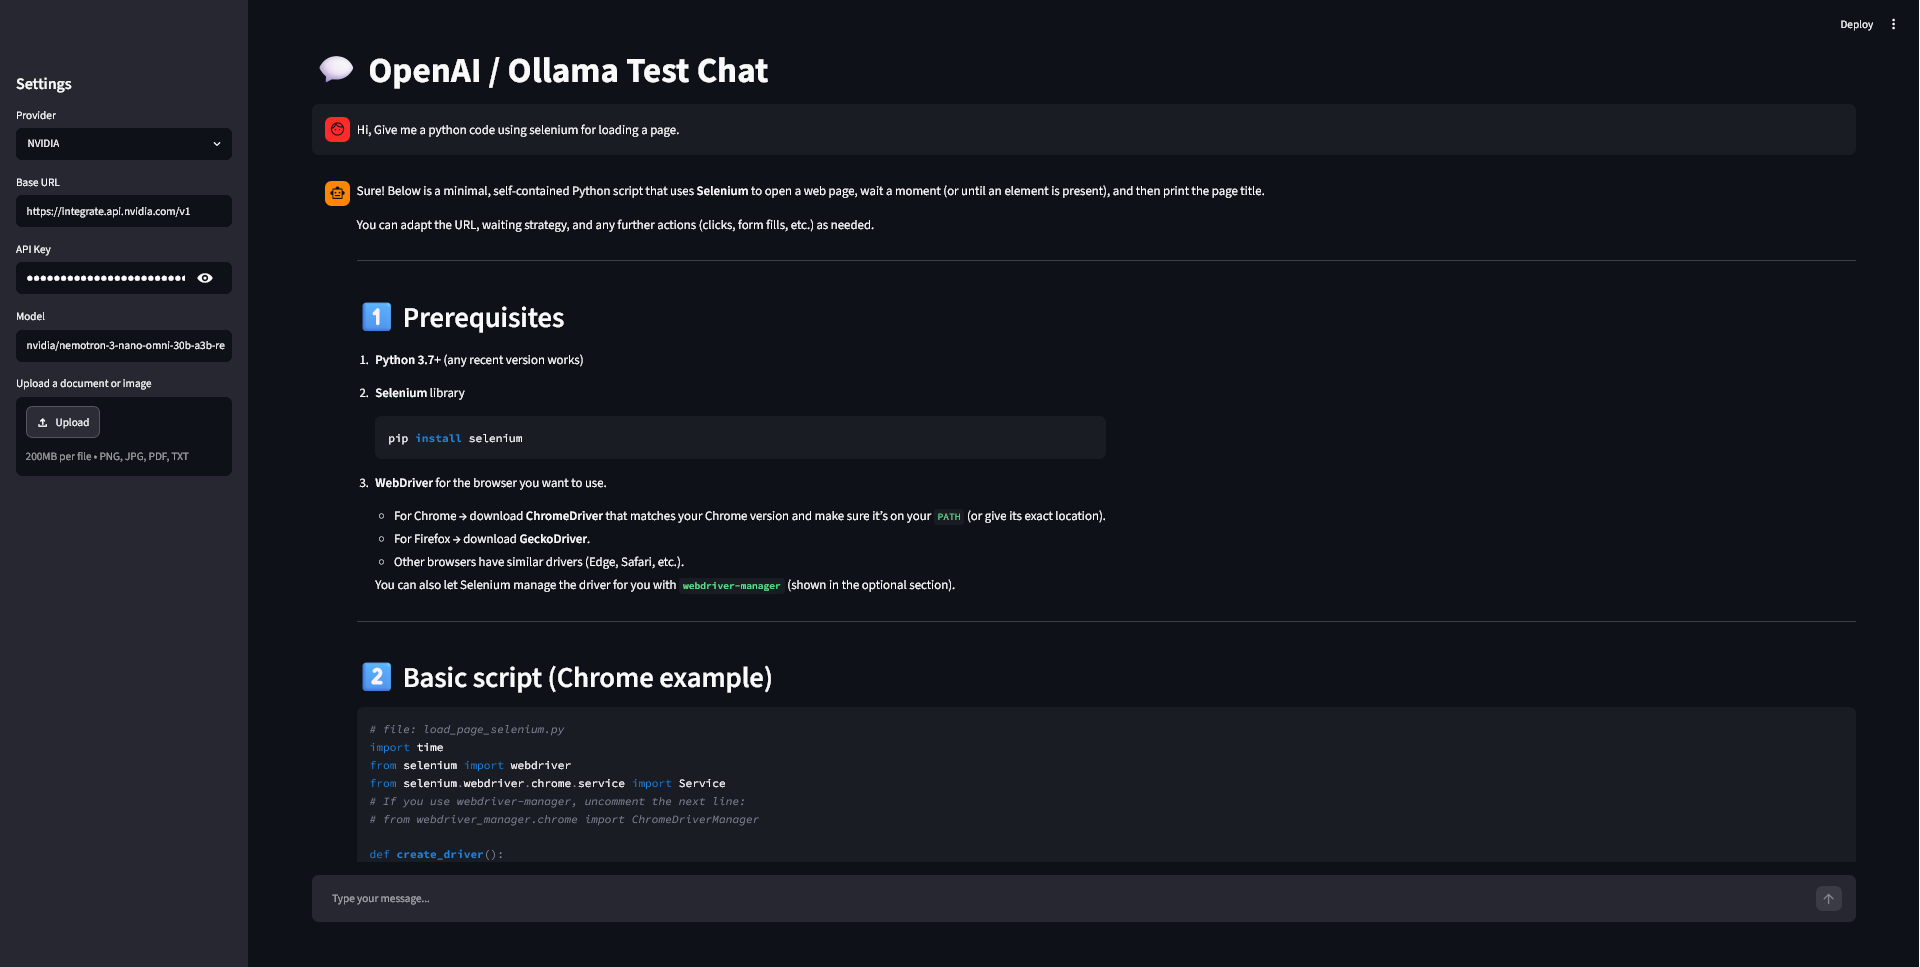
A versatile, lightweight Streamlit web application that provides a unified chat interface for OpenAI, NVIDIA NIM, and local Ollama language models. It features real-time response streaming, image/document upload capabilities, and live performance metrics (latency and tokens per second).
📸 Demo
🚀 Features
- Multi-Provider Support: Seamlessly switch between OpenAI, NVIDIA NIM, and local Ollama instances.
- Dynamic Configurations: Automatically swaps default endpoints, API key parameters, and recommended models (
gpt-5,qwen2.5, etc.) based on your selection. - Multimodal Ready: Supports uploading images (
png,jpg,jpeg) and documents (pdf,txt) directly into the conversation. - Real-time Streaming: Smooth, token-by-token response rendering.
- Performance Metrics: Tracks and preserves generation latency ($seconds$) and processing speed ($tokens/sec$) in the chat history.
📂 Project Structure
├── .env                  # Your local environment secrets (ignored by git)
├── .env.example          # Template for environment variables
├── .gitignore            # Git ignore configurations
├── main.py               # Main Streamlit application source code
└── requirements.txt      # Python dependencies
🛠️ Setup Instructions
1. Clone the Repository
Navigate to your project directory containing these files.
2. Create a Virtual Environment & Install Dependencies
It is highly recommended to use a virtual environment to manage your dependencies.
# Create a virtual environment
python -m venv venv

# Activate the virtual environment
# On Windows (PowerShell):
.\venv\Scripts\Activate.ps1
# On macOS/Linux:
source venv/bin/activate

# Install required packages
pip install -r requirements.txt
Note: Ensure your
requirements.txtincludes at least:streamlit,openai,python-dotenv.
3. Configure Environment Variables
Copy the provided .env.example file to create your local configurations:
cp .env.example .env
Open the newly created .env file and populate it with your respective API credentials:
OPENAI_API_KEY=your_openai_api_key_here
NVIDIA_API_KEY=your_nvidia_api_key_here
OLLAMA_API_KEY=ollama
💻 Running the Application
To launch the web interface, execute the following command in your terminal:
streamlit run main.py
Once running, your default browser should automatically open to http://localhost:8501.
💡 How to Use
- Select a Provider: Use the dropdown menu in the sidebar to choose between Ollama, OpenAI, or NVIDIA.
- Review/Edit Endpoints: The app will auto-fill the default Base URL and API key from your
.envfile. You can override these directly from the UI if needed. - Attach Files: Drop an image or text document into the file uploader if you want to use vision or grounding capabilities (ensure the chosen model supports multimodal inputs).
- Chat: Type your prompt into the input bar at the bottom and hit Enter!